Harmony In Motion
When the client approached By The Booth with a script, a tight turn around, and a bit of an idea of what they wanted on screen, they trusted me to take care of everything from storyboarding, to some final sound design on this short piece for Canadian Airports Council.
The Brief


For this project the client came to By The Booth with a script, and visual script in hand.
However, with a turn around of a little over 3 weeks we had to try to come up with some good solutions to the more complex ideas they wanted to showcase that wouldn't be doable in such a short time frame. Sometimes a large part of our jobs as motion designers is to suggest different courses of action that can be just as effective visually, and not explode the budget and timeline the client has in place.
Step 1: Research

With the script for this project providing guidance on the visuals the client wanted, I went about learning as much as I could about what airports look like. That meant bunches of reference photos and google searching to find styles of airports we could base the work on that satisfied the style the client was going for.
With the nature component, it was a good excuse to go for a hike in my own backyard of Kananaskis and get some reference photography.
Step 2: Conceptual


Step 2: Concepting


After coming up with various solutions that would bring the timeline and budget for this piece into a more realistic realm, I set about storyboarding the piece.
Because the script and visual concept had been provided this step was shorter than in other projects, but it was still crucial none the less. Along with the storyboard, we also provided animatics in order to get a sense of timing.


Step 3: Design
As soon as the storyboards were approved we set about designing all of the assets for the piece.
Character Ideation

I set about character ideation as soon as the boards were conceptualized and off for client viewing. Since we needed a hero character that was present for the whole piece I knew we'd have to go through a lot of revisions to get something the client was happy with. The above actually shows how many we did, and these don't look at all like the final character.
Set Pieces and Backgrounds


Then came the task of illustrating all of the backgrounds and set pieces for the animation.
We wanted them to be sleek, clean and modern, with enough detail to be realistic but not overwhelm the viewer.
I set aside a certain amount of time needed before animation and just had my nose to the grindstone creating as many assets as possible before I dove in to making it all move.
Step 4: Execution
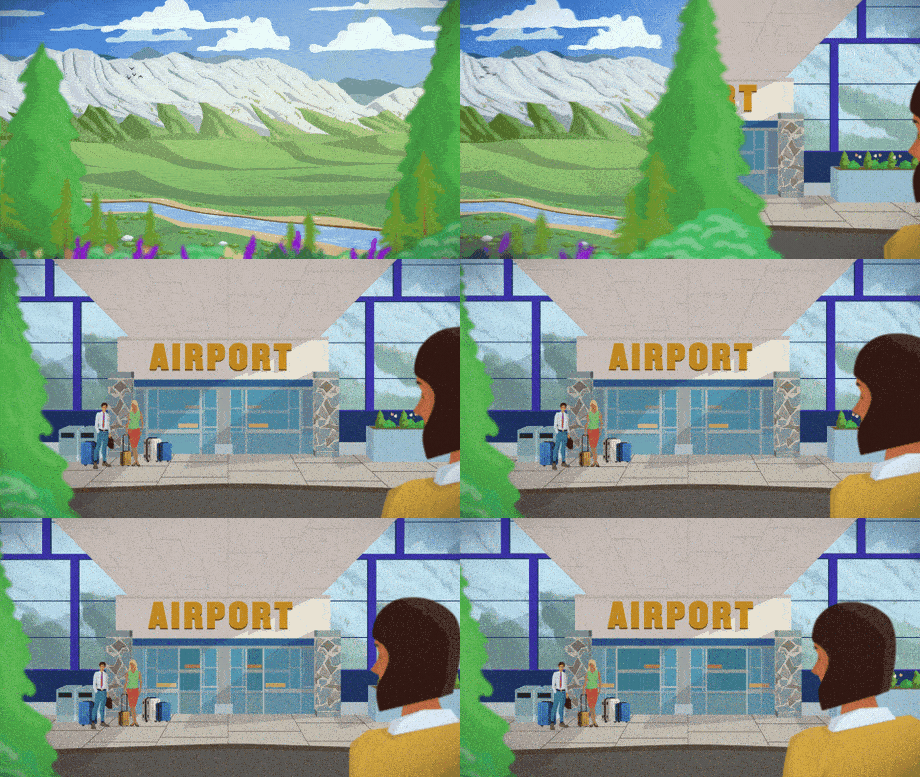
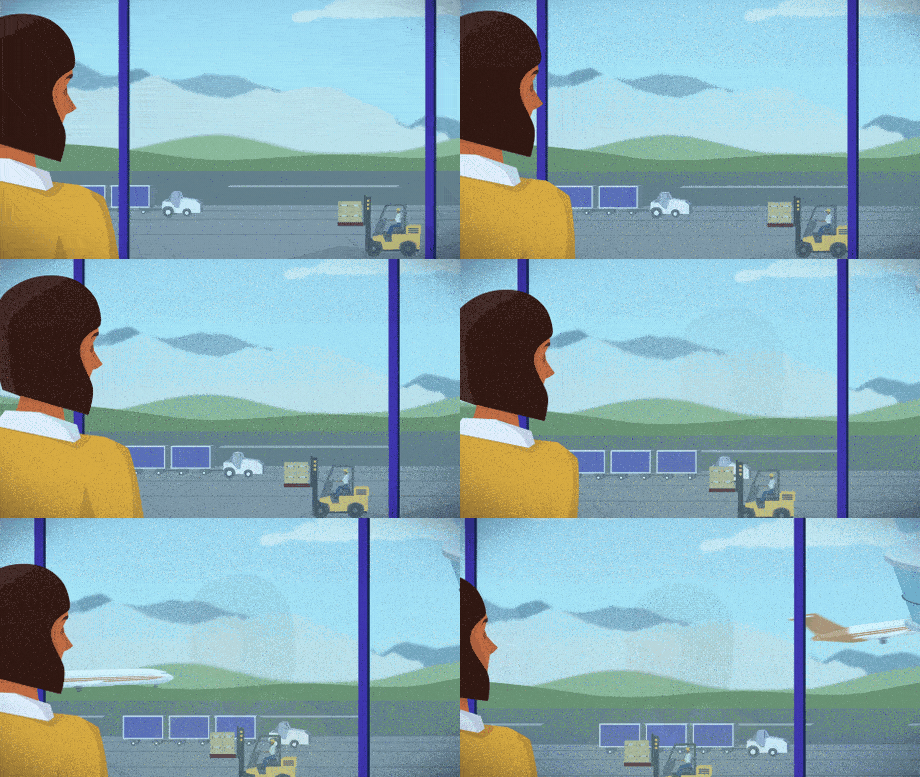
After building up all the elements it was time for my favourite part, bringing them all to life! Because we took such care in the previous stages, building a solid storyboard and an animatic from those images, I could focus a lot more on the small details that helped this piece come alive.


Thats It!
After some additional sound design we delivered the final product to a very happy client! The even ended up using some of the elements that I designed in the print campaign that went along with this project.


