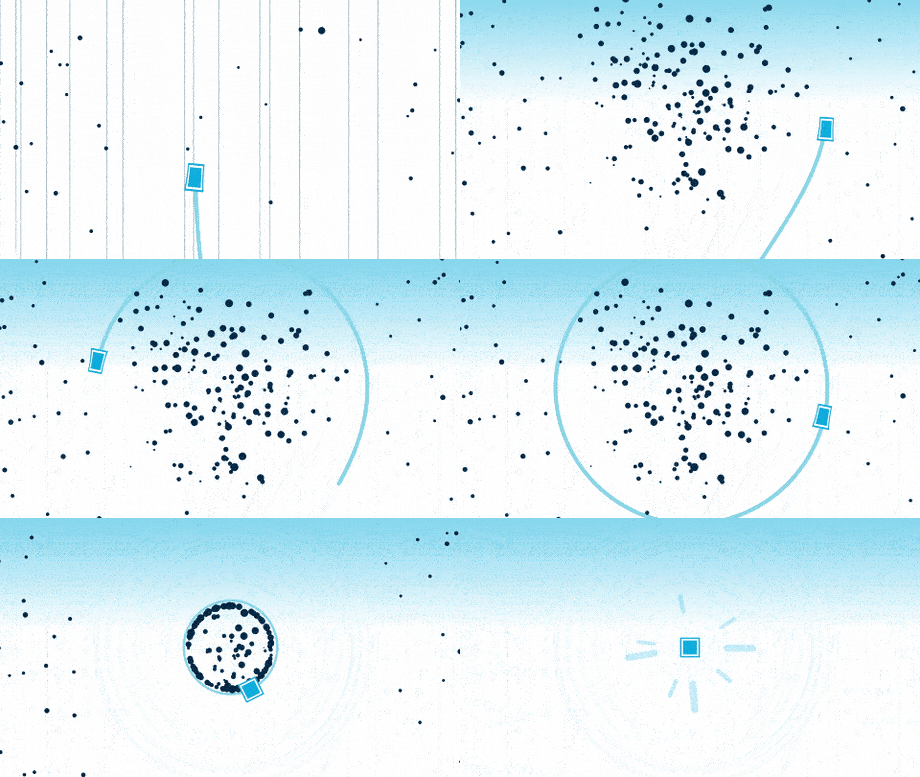
I had the pleasure of taking this visual essay from concept to completion, with creative direction being provided by Visual Inclination. Check out the case study below.
The Brief
TAB software is a company that specializes in helping businesses manage and store their business assets, paper files, and electronic information. With this project, we were tasked with bringing to life their ability to digitize all of the customers documents to bring in to the digital realm.
With a tight turn around, small budget, and loose script it was no easy task to pull this together. But along with the team at Visual Inclination heading up creative direction, I was able to take this project from its loose initial script provided by the client, to the finished product you see above. The turn around for the above project was 4 weeks, and the client provided the initial script.

Step 1: Research
I think Motion Designers are storytellers first and foremost. And all good storytelling comes from a place of knowledge about the subject. While this particular piece wasn't talking about as abstract a concept as some, I still tried to take the time to learn a bit about what it is TAB does.
This meant spending time researching the company, what it is they do, and how they do it for a little bit of time before diving head first in to how best to visualize their script.

Step 2: Conceptual
The first thing I do after research, is sit down with the script and do a line by line word based visualization of the project. Just writing out the script allows for some really simple ideation at an early stage that we can run past the client. It also let the Creative Director at Visual Inclination and I to come up with strong, on paper ideas, for bringing the brands story to life, even before hitting the pencil and Wacom.

Right after the basic visual script idea gets approved, I start conceptualizing things by hand. How do we show a piece of paper getting digitized? How to we visualize the multiple facets of the company in an engaging way? How to you show bottom line business goals in an interesting way? Drawing this out by hand allows us to save time and money and lets us ideate and refine quickly.


Step 3: Design
Now the fun stuff! I start by putting together a mood board for the client to look at. This lets us get a feel for style even before we start designing our own assets. For this project, we went with a clean, flat look that was based on previous work that we had done for the client, the budget constraints, and the turn around time.
Moodboards

Pulled from sources of inspiration, the moodboard let us set a tone that we were trying to go for that we could present to the client, without sinking time in to designing our own assets.
After that, comes style framing out some of the iconic moments of the hand drawn board to start getting a feel for a final look. I'll generally present a few options here that are in line with the moodboard, and the client will settle on one that we use for the entire project.
Styleframes


Step 4: Execution
Whew, what a process! And we haven't even started to make anything move yet! We're almost there though.
Once we nail down the look and feel of the piece, its time to bring the whole thing together! That starts out with the whole project getting designed in still frames before moving on to animation.
One of the most fun parts of this process is seeing the early hand drawn sketches getting turned in to fully rendered designs, and how they may evolve.

An then we bring it to life! We wanted to keep things fun, short and snappy so that a fairly dry topic was entertaining, and got the idea of what TAB does across easily and succinctly.


Thats It!
After I provided some sound design and cleaned up the Voice Over record, we delivered the final product to a very happy client! Its never a dull moment in motion design, even if you're dealing with sometimes dull subject matter.


